Case Study: Submersible Pump
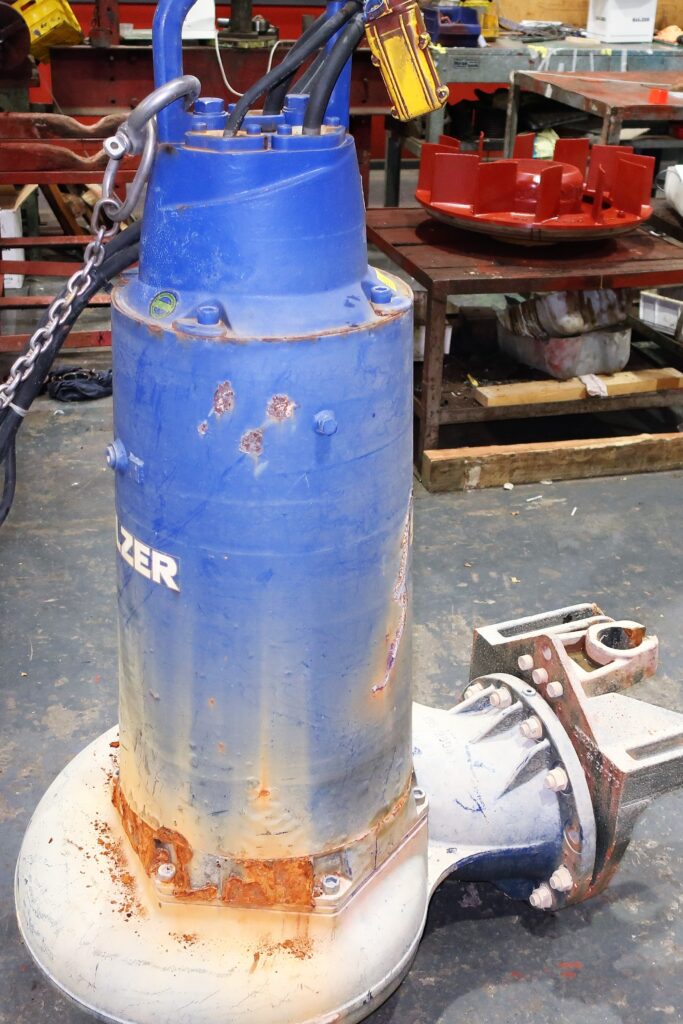
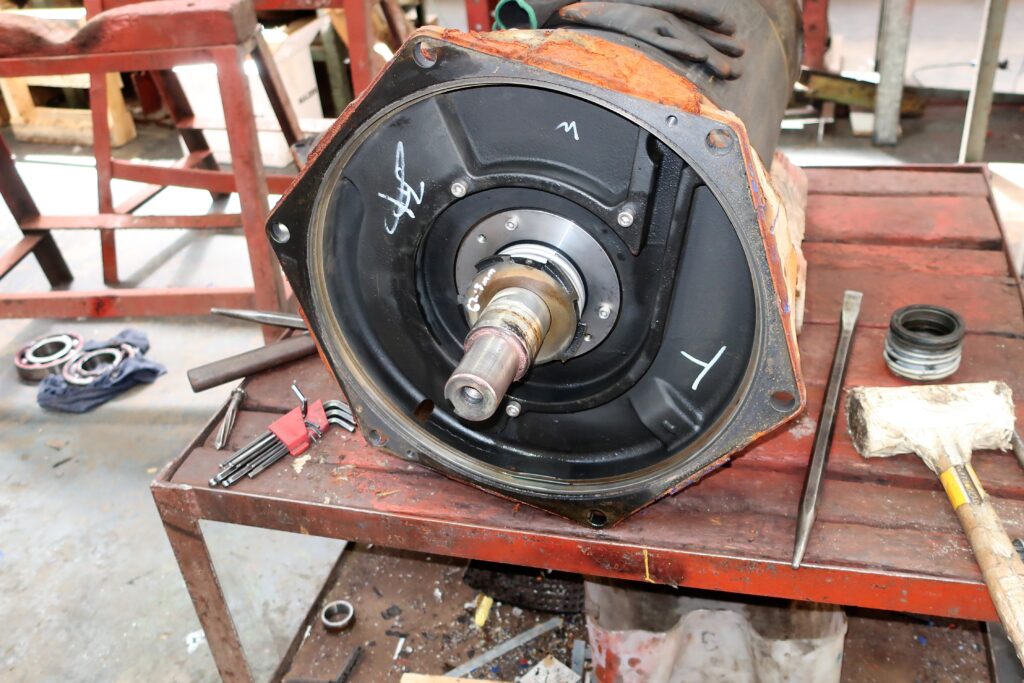
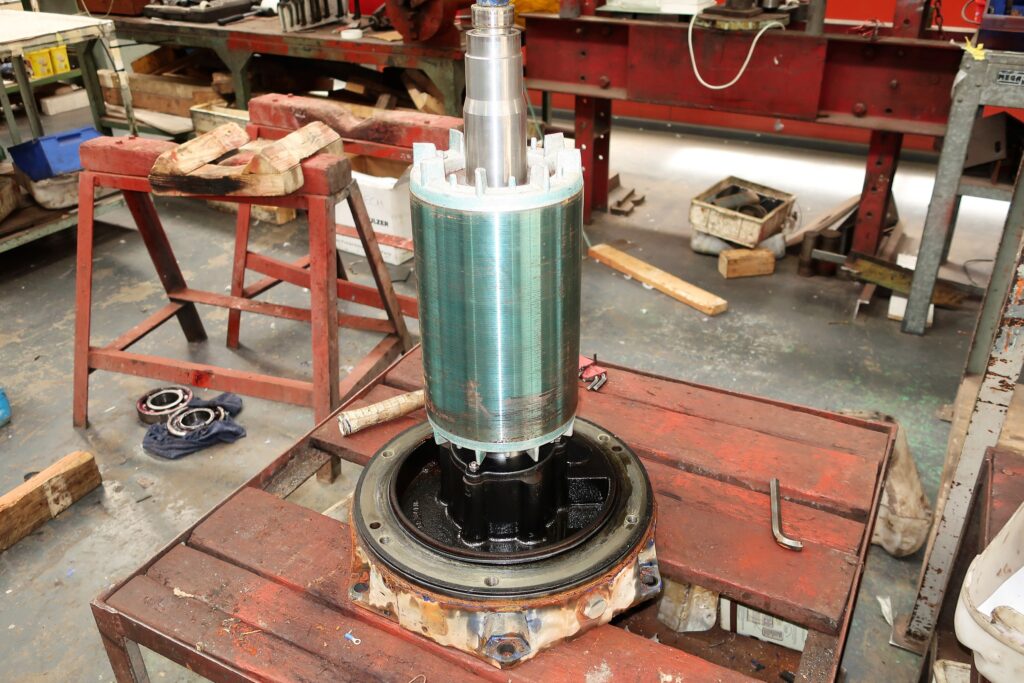
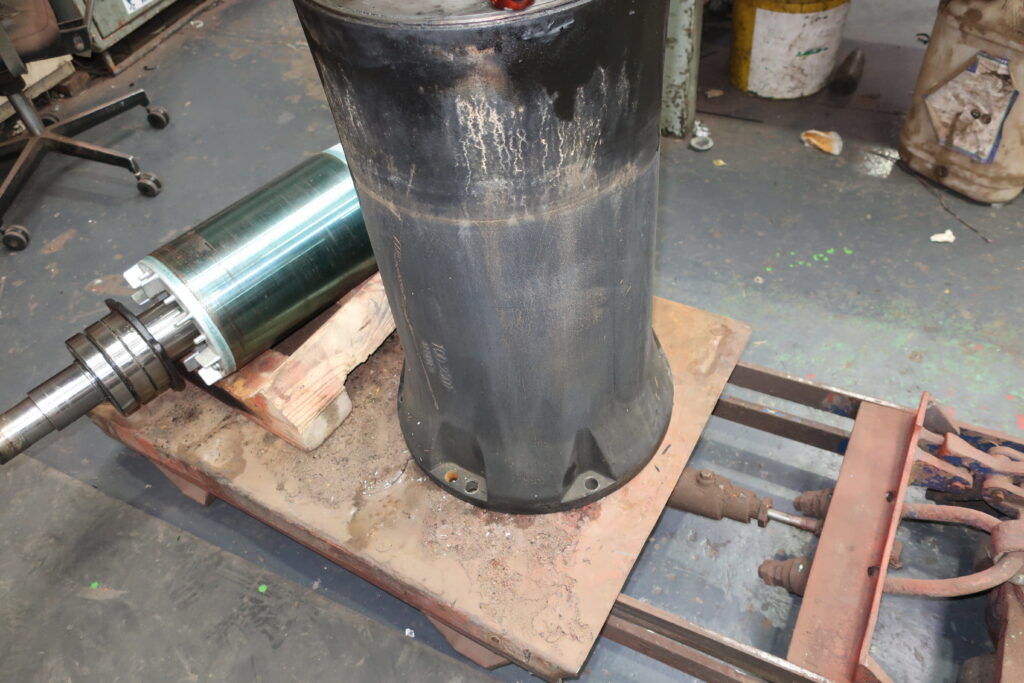
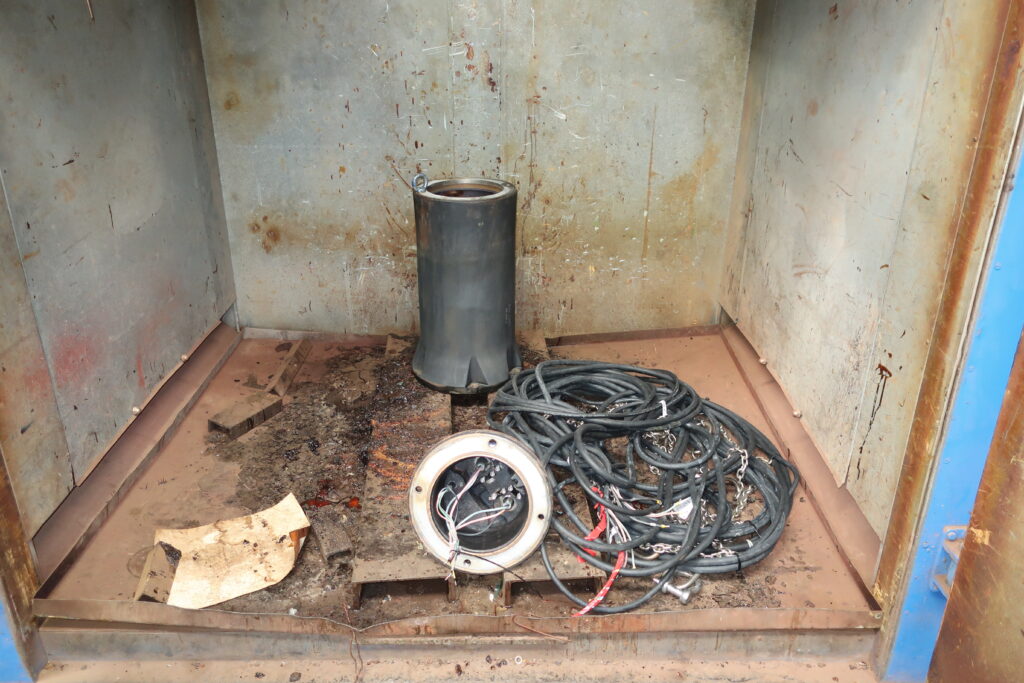
After the pump arrives in our workshop it’s then dismantled, inspected, tested, steam-cleaned and then oven dried. See the following images.

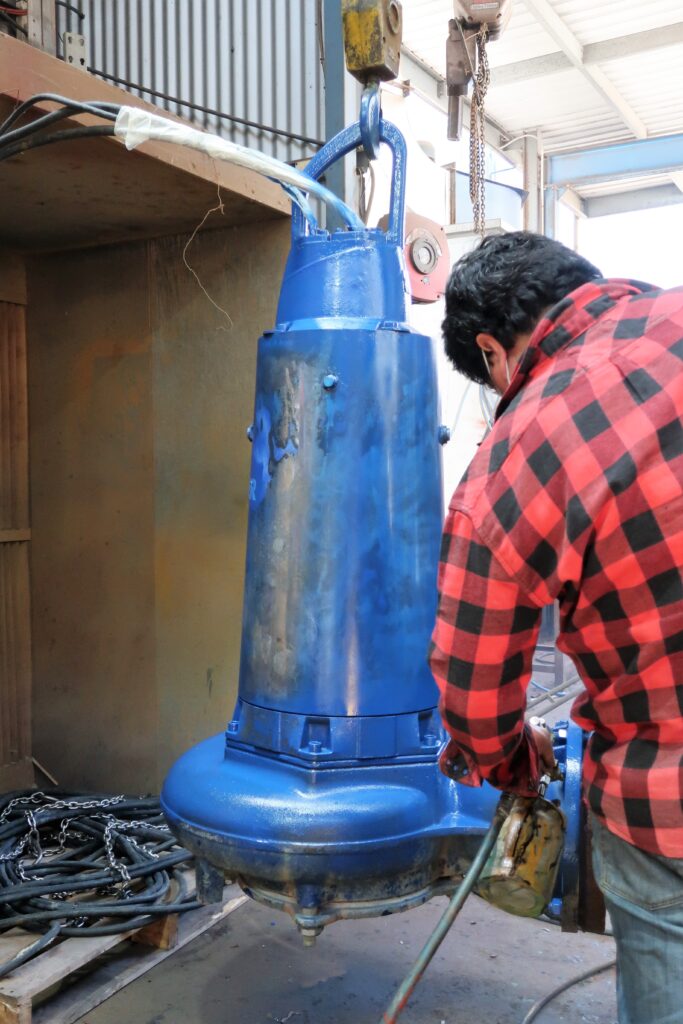
The needle gun is then used to remove any rust on the external parts.

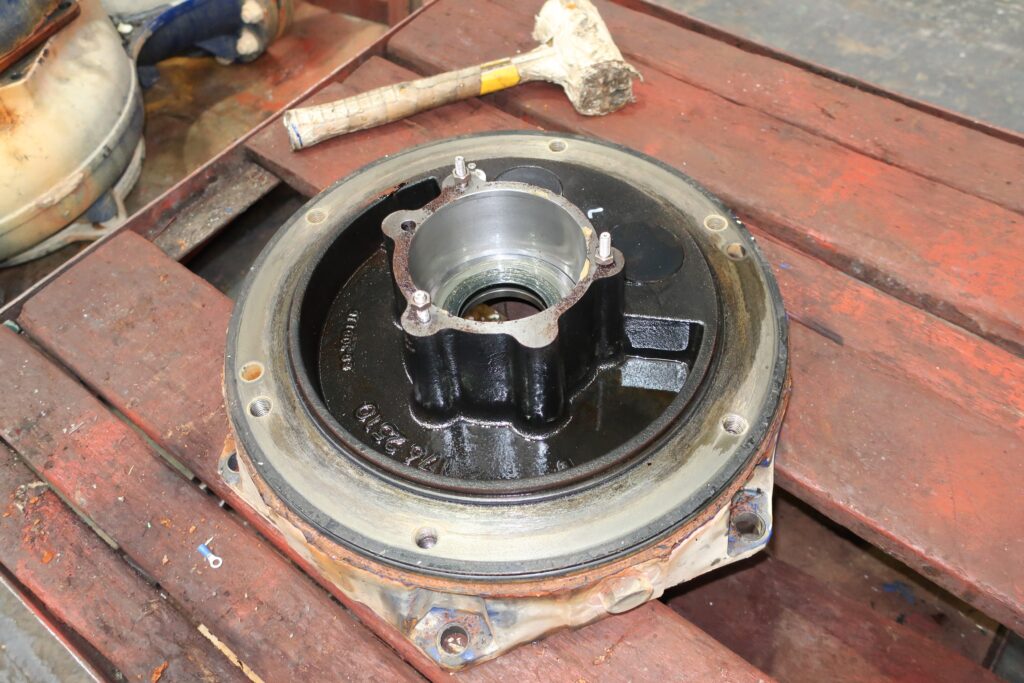
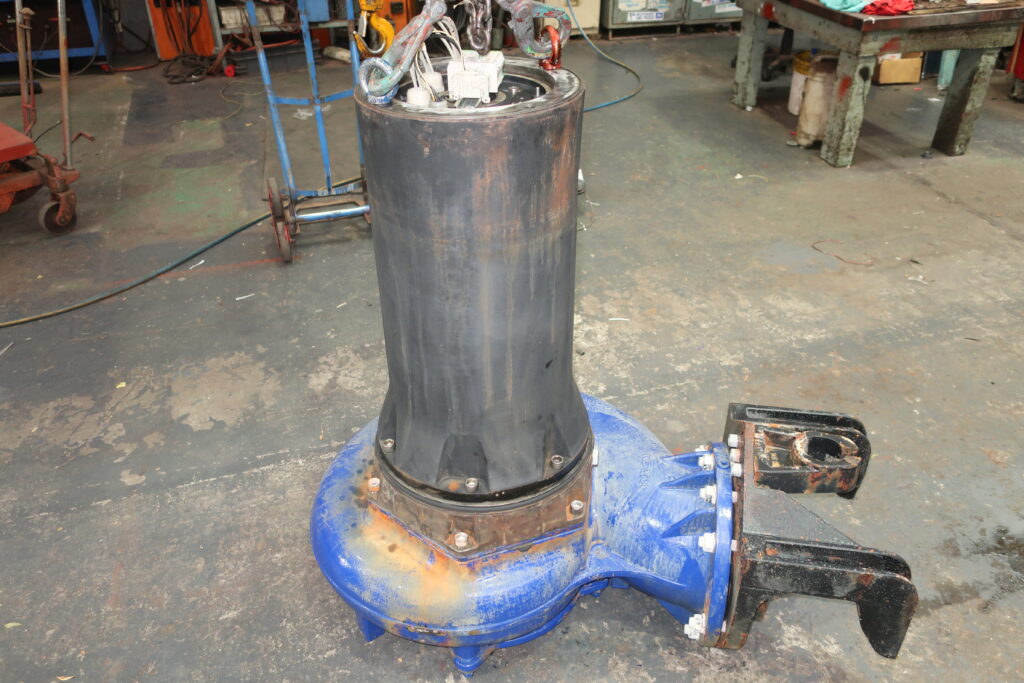
We then supply and fit a new O-ring kit, new seals and bearings and then reassemble the pump reconnecting all the leads and control cables.
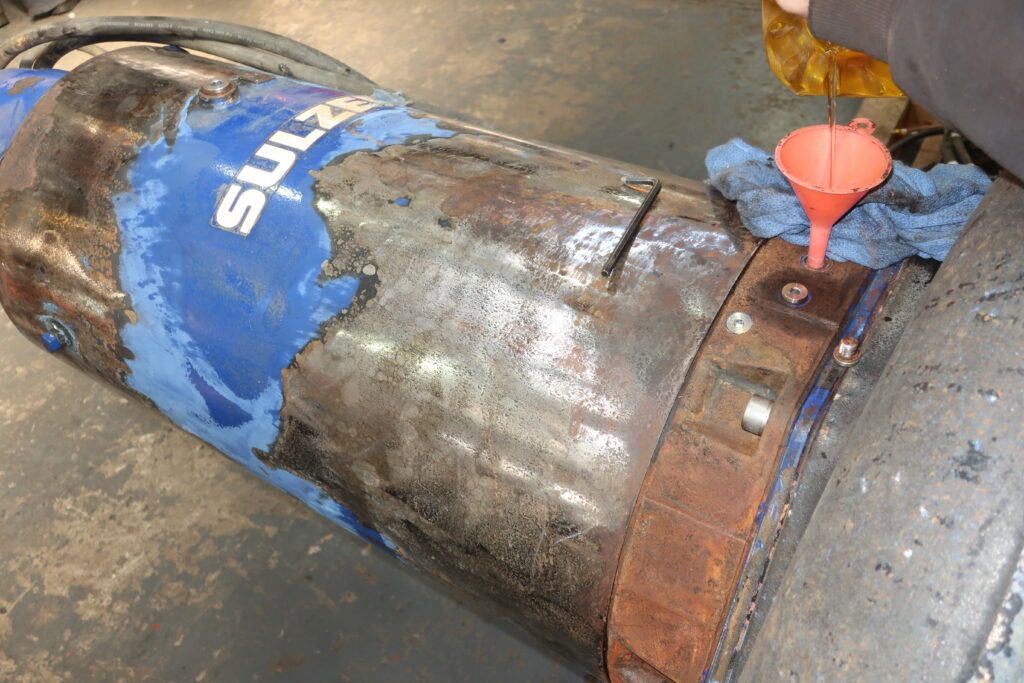
The pump is then refilled with oil and coolant.
The pump undergoes spray painting to protect it from further rust.
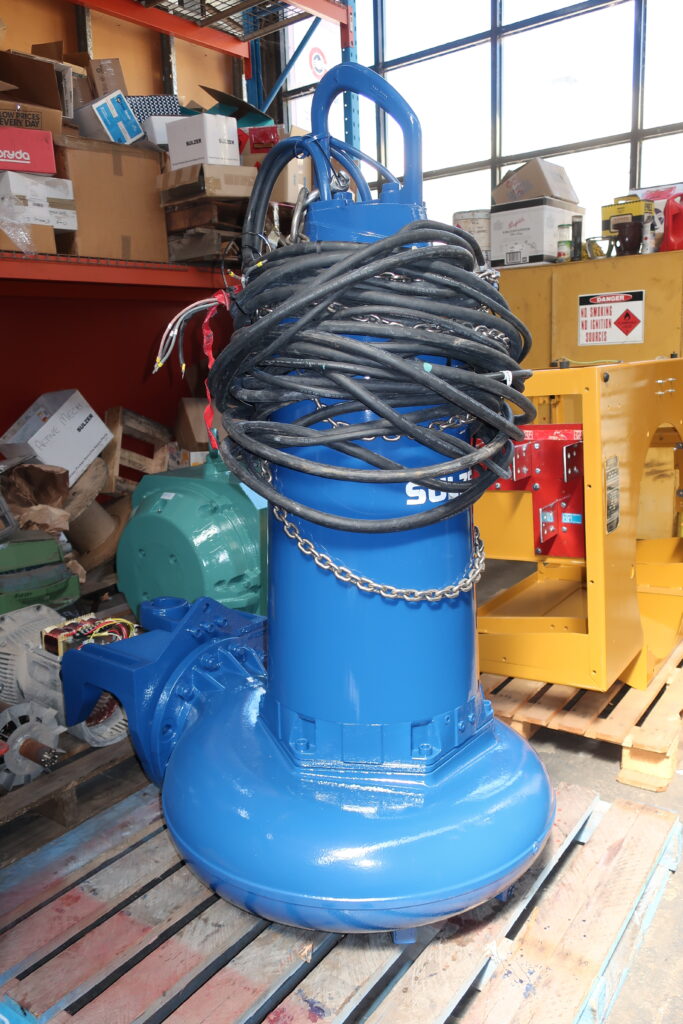
The pump once completed and ready for delivery.